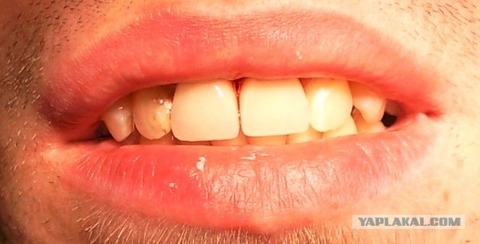
If you are not too lucky you’ve been at the dentist’s and maybe you already have a ceramic crown with metal in your mouth, or some of them. But hardly you know what happens outside the dentist’s room and how they make these crowns. Now you have a chance to find it out.
http://englishrussia.com/2012/04/06/how-they-make-ceramic-crowns-with-metal/

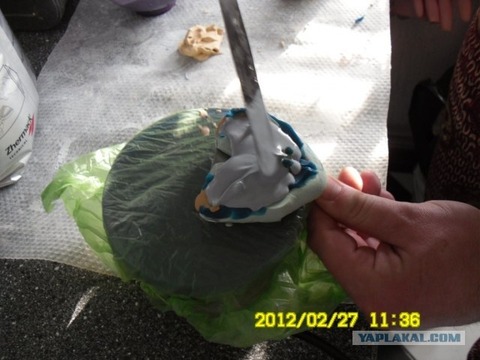
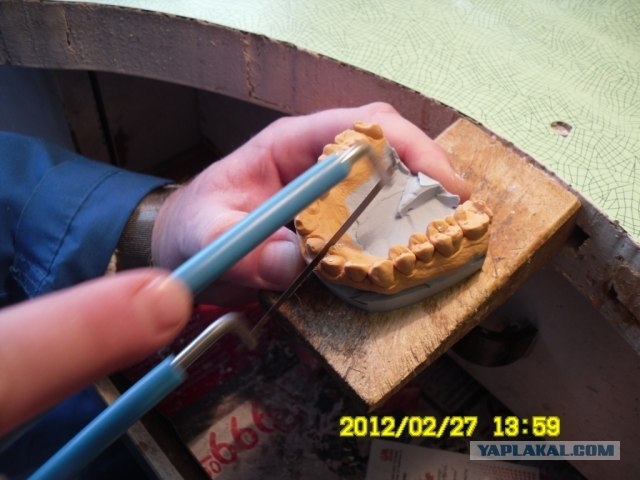
まず職人は、歯医者から患者の歯の型をもらいます。

彼らは様々な石膏を使い、患者の歯型を作ります。


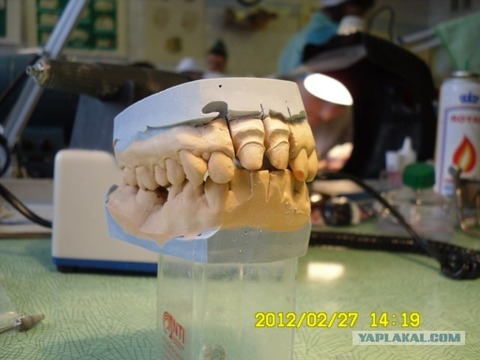
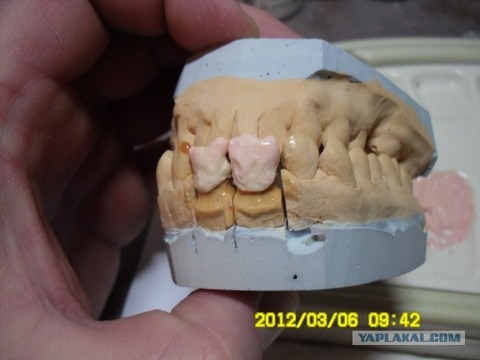
型を開くと正確な歯の形が分かります。
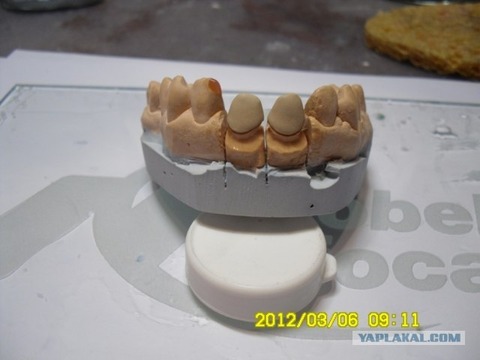
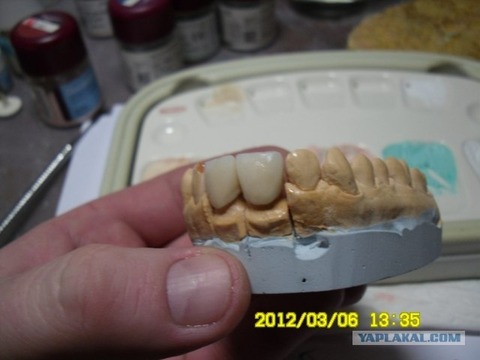
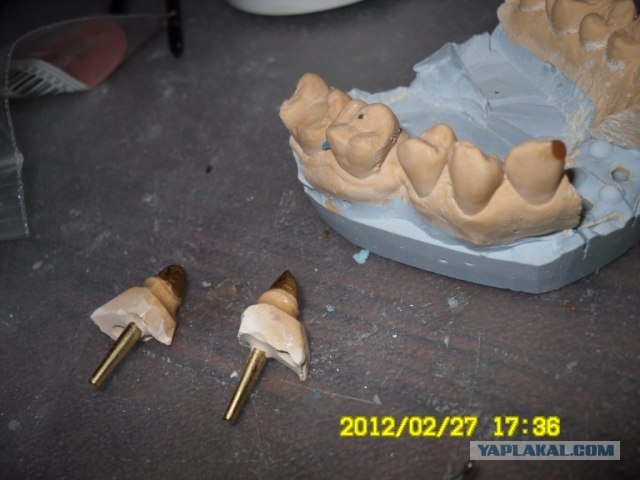
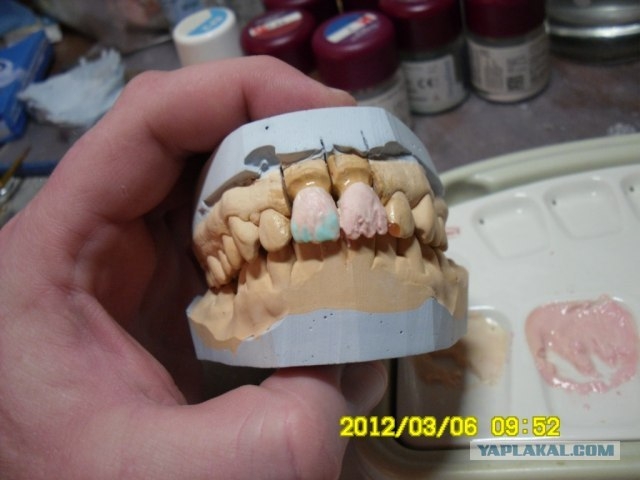
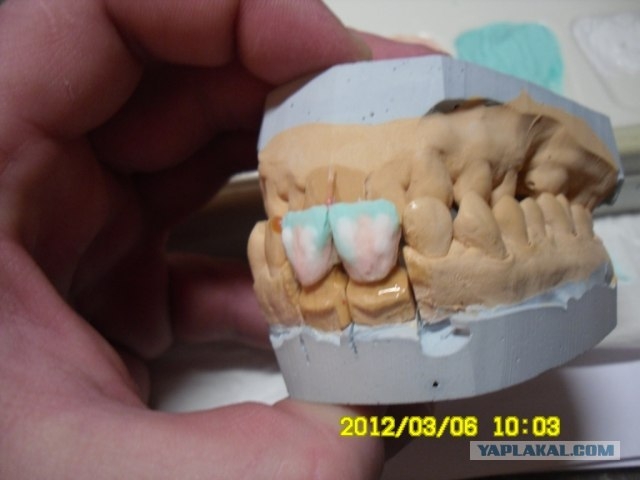
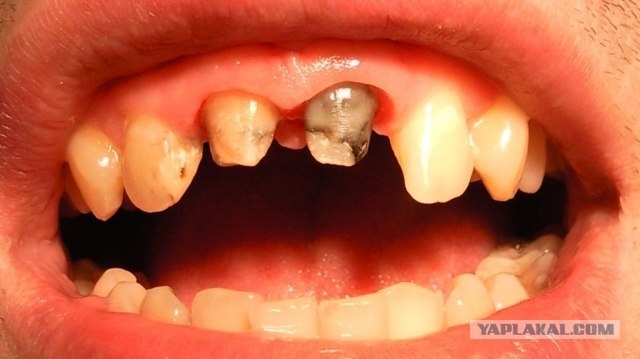
この患者のケースでは中央二つの差し歯を作るようです。

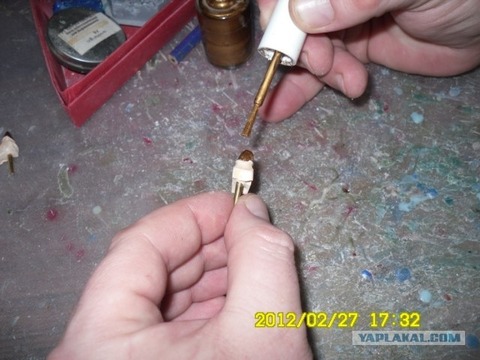
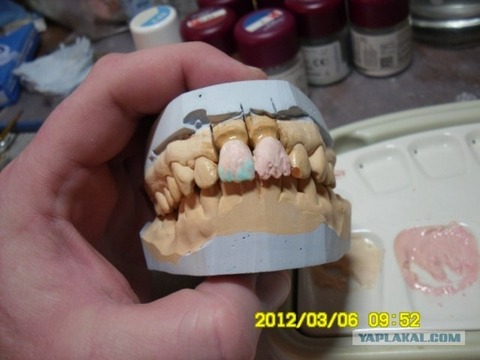
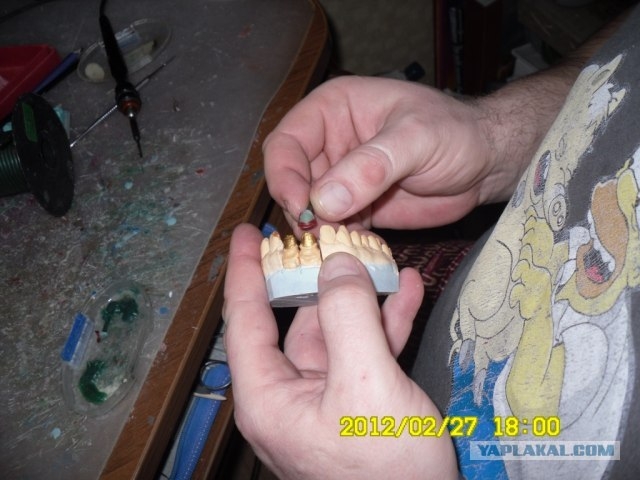
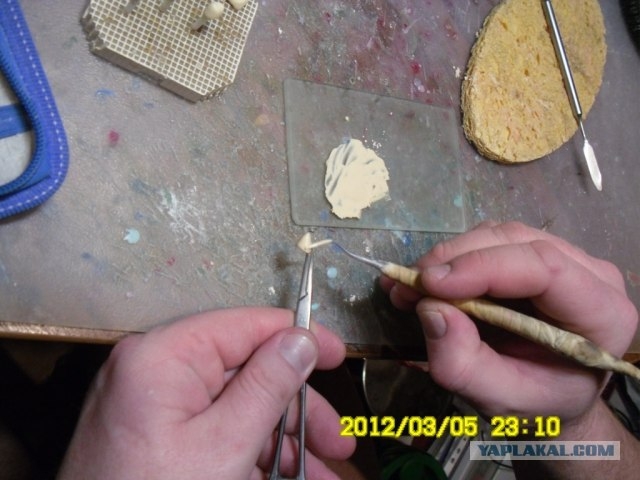
特別なニスで何枚かの層を作り、鋳造するためにワックスで型を作ります。

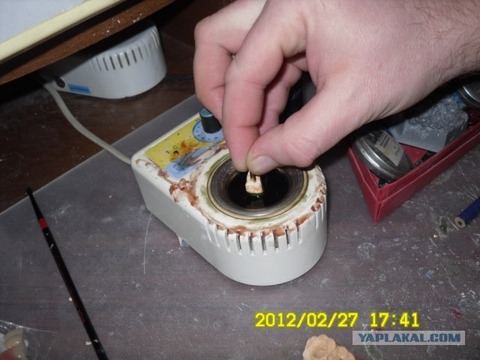
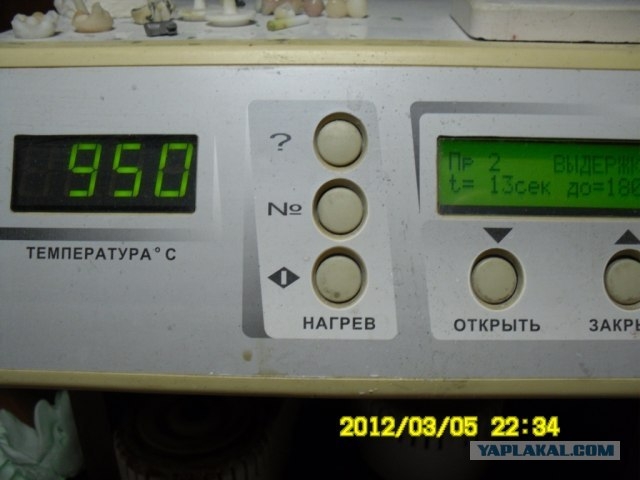
これはワックスを溶かす機器です。
ワックスの厚さは0,3mmを超えてはいけません。

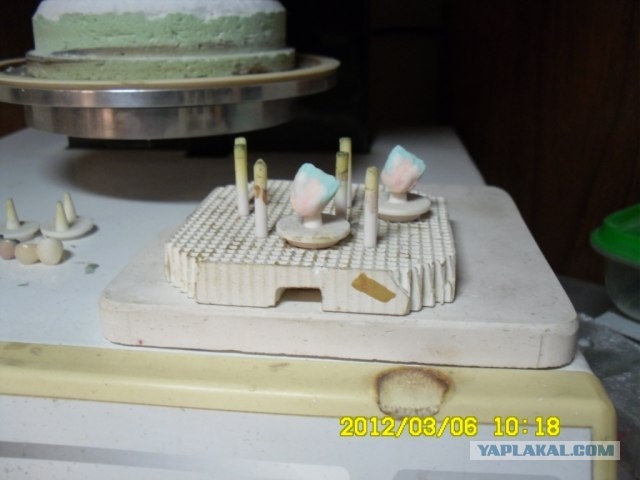
熱で固定。

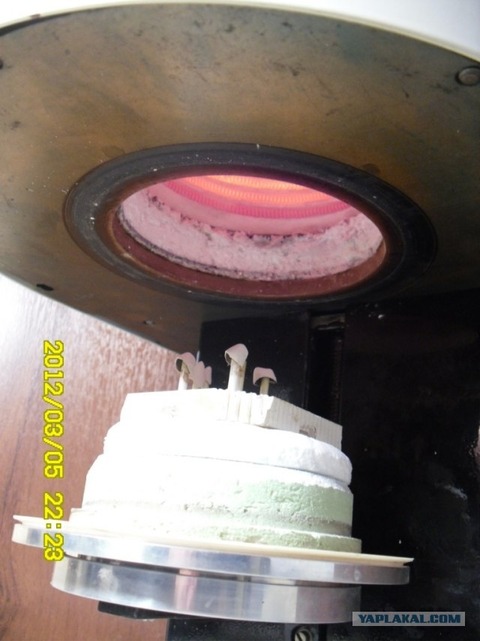
鋳造されテストが終われば今度はストーブの中へ。


二層目を作り、またストーブへ。
二つ目の層を取り付けた後、金属のパックで覆う。
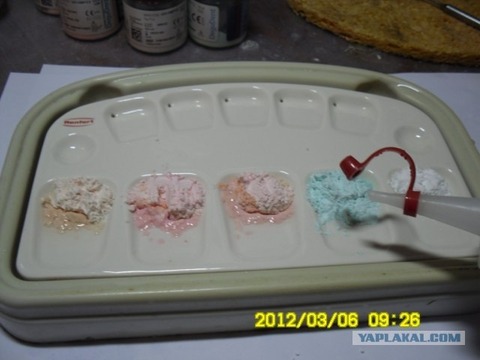
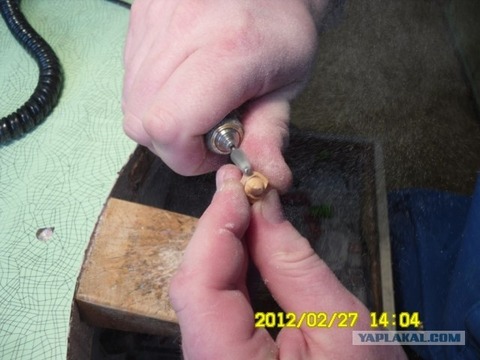
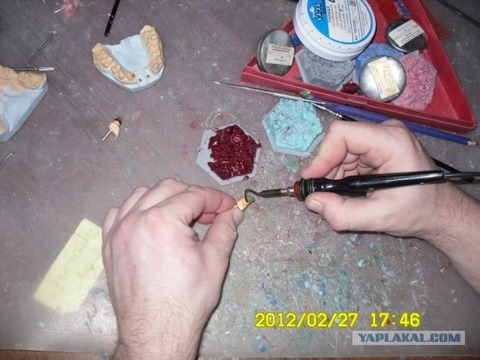
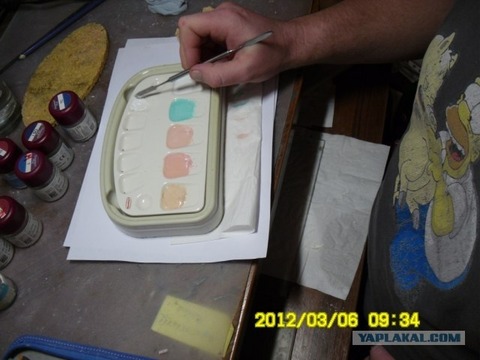
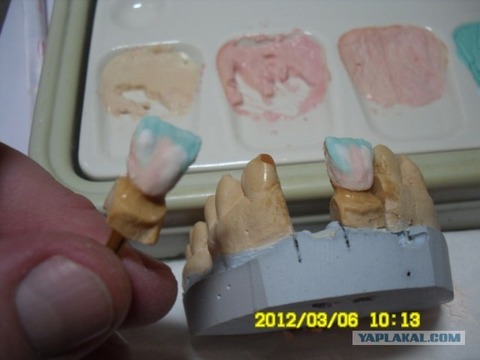
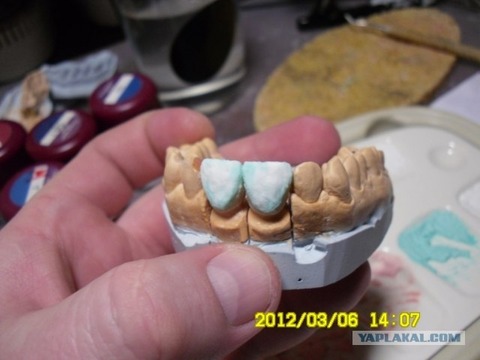
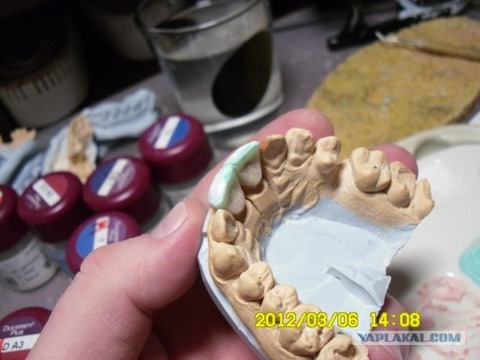
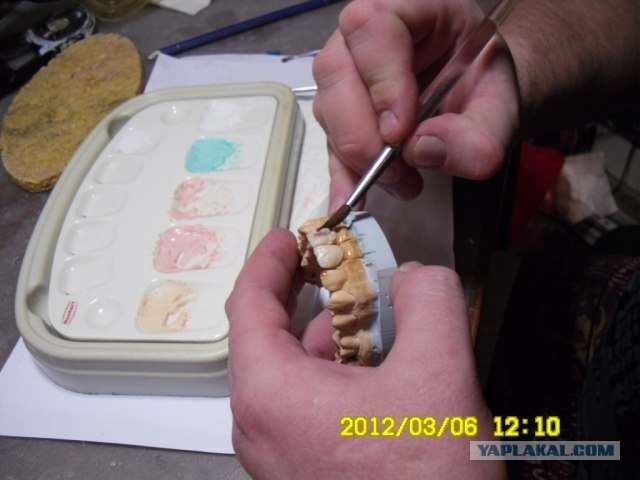
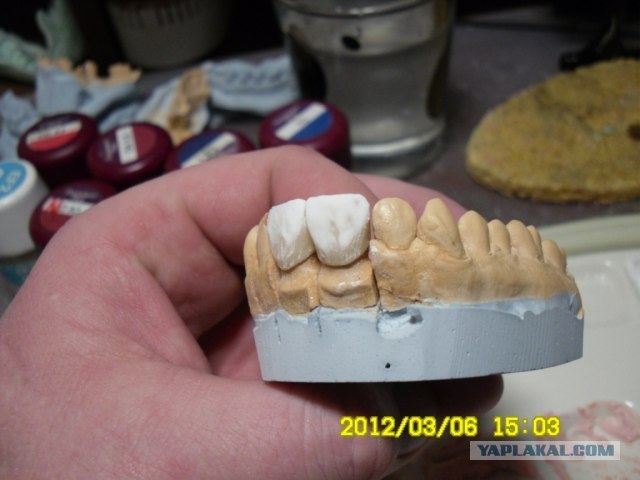
適当なセラミックを選び、歯に必要な堅さを作る。
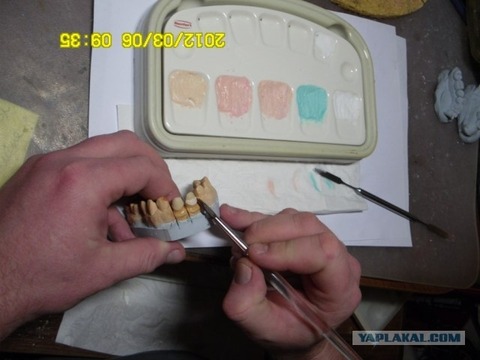
ブラシと共に魔法のように仕上げていきます。


そして再びストーブへ。
ストーブに突っ込んだ結果、象


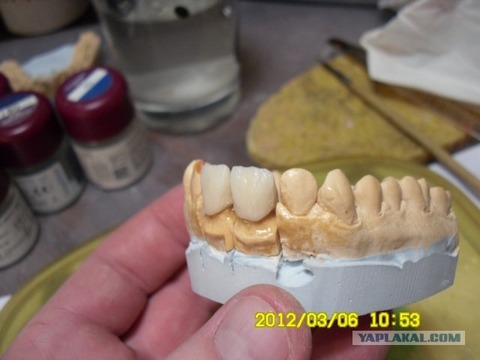
最後に形を修正して、透明の非常に薄い層を塗ります。

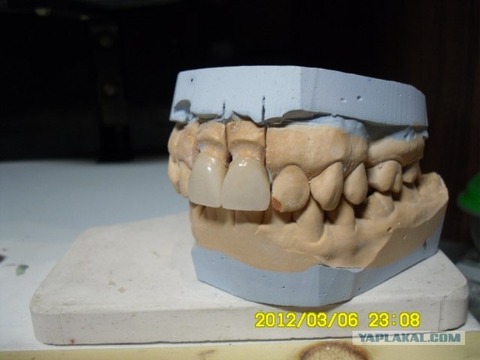
凄い光沢!
Before(一応クリックでモザなし)

After
歯は大切にしましょうね…

まず職人は、歯医者から患者の歯の型をもらいます。
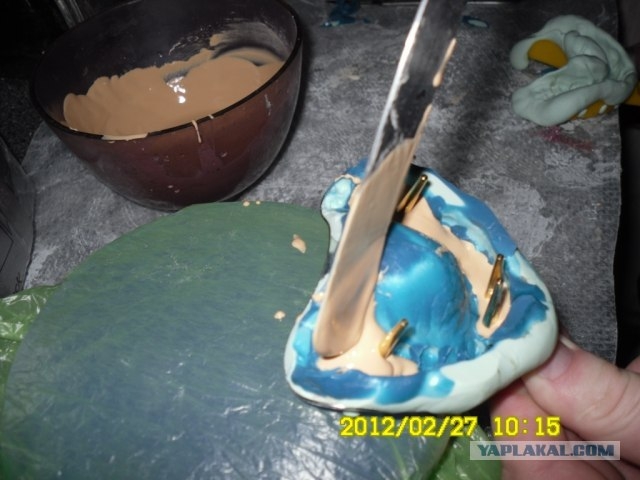
彼らは様々な石膏を使い、患者の歯型を作ります。
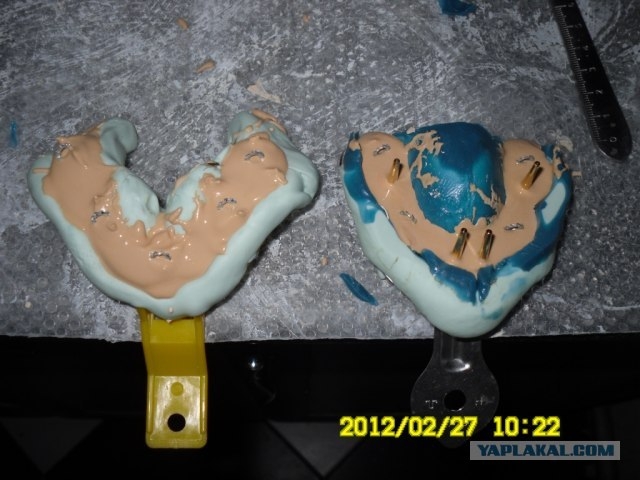

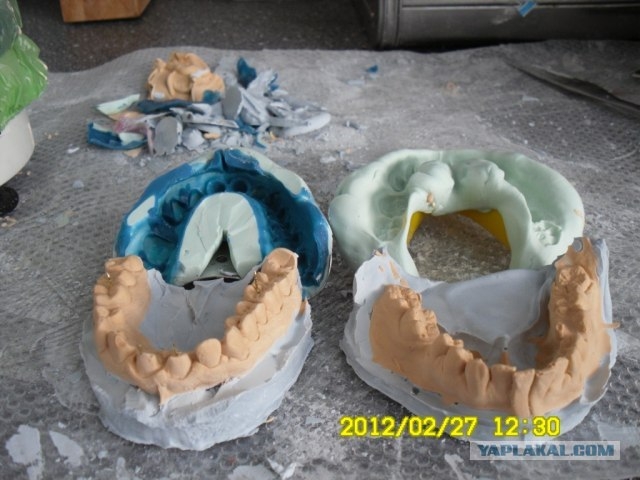
型を開くと正確な歯の形が分かります。
この患者のケースでは中央二つの差し歯を作るようです。


特別なニスで何枚かの層を作り、鋳造するためにワックスで型を作ります。

これはワックスを溶かす機器です。
ワックスの厚さは0,3mmを超えてはいけません。


熱で固定。

鋳造されテストが終われば今度はストーブの中へ。
二層目を作り、またストーブへ。

二つ目の層を取り付けた後、金属のパックで覆う。

適当なセラミックを選び、歯に必要な堅さを作る。


ブラシと共に魔法のように仕上げていきます。


そして再びストーブへ。

ストーブに突っ込んだ結果、象


最後に形を修正して、透明の非常に薄い層を塗ります。
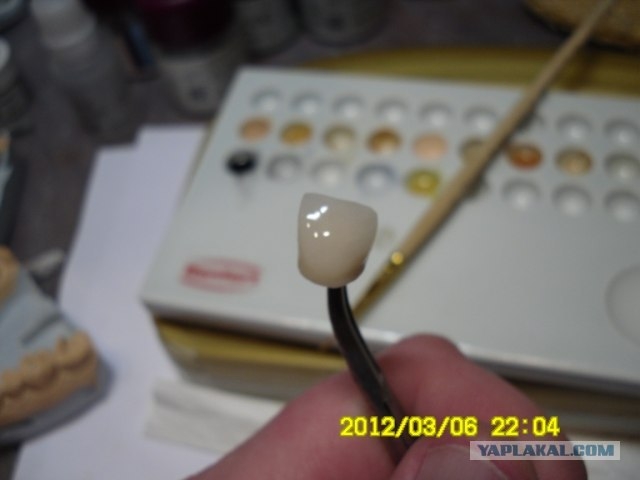

凄い光沢!
Before(一応クリックでモザなし)
After

歯は大切にしましょうね…
0 件のコメント:
コメントを投稿